Creating a new Amazon Pay Account
Find more Joomla Gears Support at:
https:/www.joomlagears.com/help-center/documentation/amazon-pay/Introduction
In order to integrate Amazon Pay into your e-commerce solution, you will need to create an Amazon Pay account, an Amazon Seller Account and a Client Login application.
Amazon Pay Account
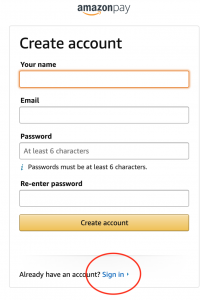
- Navigate to https://pay.amazon.com/signup and fill in the form to create a new AmazonPay Account. Press Continue.

- You may choose to link an existing Seller Account or create a new account.

- Once you've created the Amazon Pay account and Amazon Seller Accounts, you can proceed to set up the JoomlaGears integration.
Amazon Seller Account - Login Client Application
Users will need to authenticate with Amazon on your site before being allowed to purchase products. In order to facilitate this, you'll need to set up a new Amazon Pay Client/Store ID configuration.
- Log into your Amazon Seller account at sellercentral.amazon.com
- Click the menu item Integration > Integration Central.

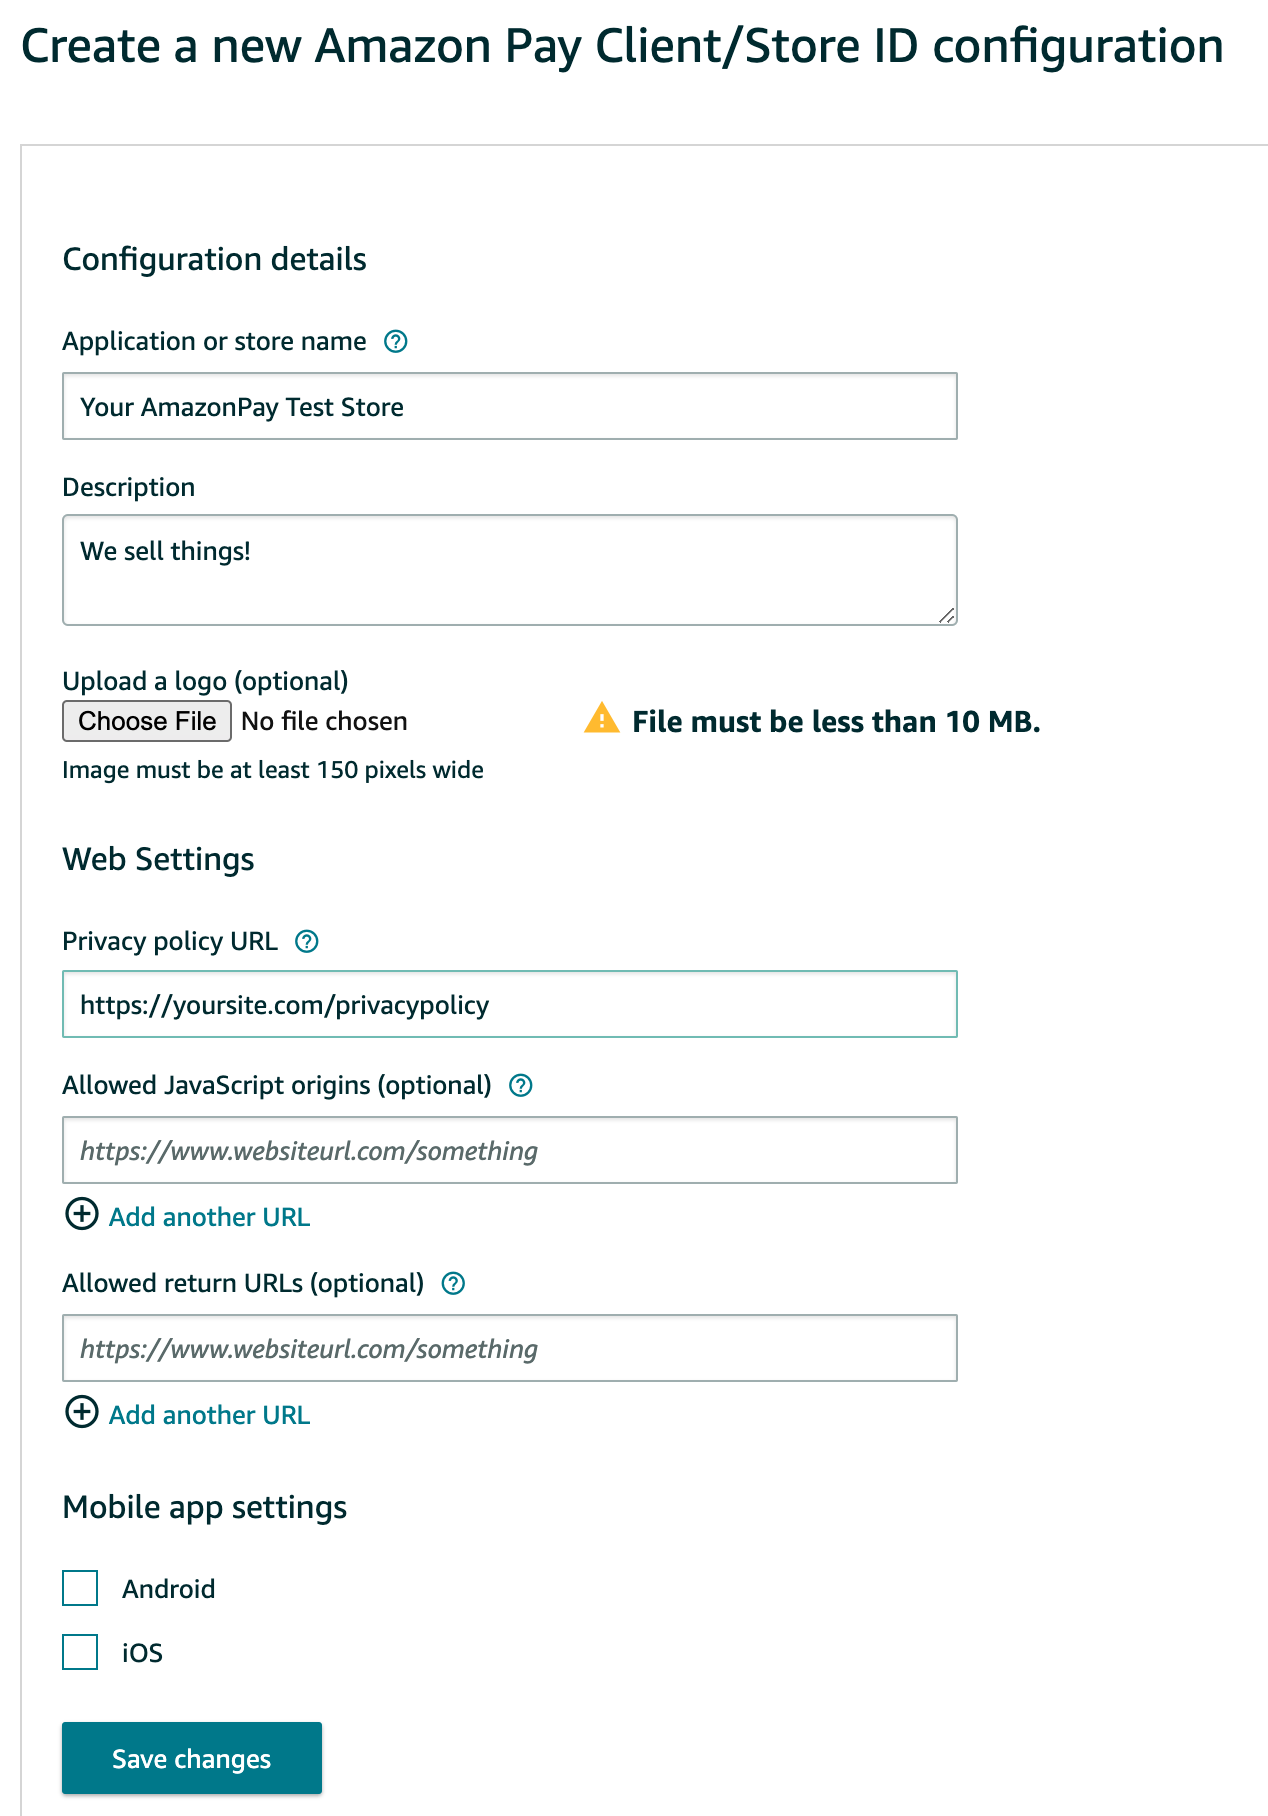
- If you have not created a client ID / store ID, scroll to the bottom and click the link to create the IDs.

- Enter an application or store name, description and URL to a privacy policy.
Enter a value for "Allowed Javascript Origins" as the full URL to your home page, ex. https://yoursite.com/
Click Save Changes.
Amazon Seller Account - Keys
You'll need to gather several pieces from your Seller Central Account to configure the Amazon Pay plugin.
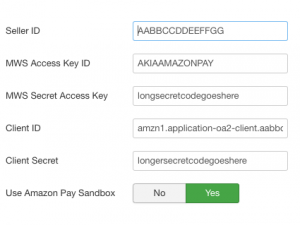
- Click the menu item Integration > MWS Access Key

- Select the Application Name of the client ID / store ID created in the "Login Client" section above.
- Gather Seller ID (A), MWS Access Key ID (B), MWS Secret Access Key (C), Client ID (D), Client Secret (E)

- Open your AmazonPay plugin (payment_amazonpay) in the Joomla backend Plugins area.
- Enter the keys from #3 into the plugin parameters and save.
- Navigate to https://pay.amazon.com/signup and fill in the form to create a new AmazonPay Account. Press Continue.